Starting a company podcast is an exciting and creative way to amplify your brand’s message. It gives you a platform to engage your audience in a personal, human way, positioning your company as an authority and thought leader in your industry. When I launched my podcast back in 2015, I was amazed at how it helped us reach so many new people, giving our message a real voice (pun intended!). If you’re thinking about starting a company podcast, you’re probably wondering, “What equipment do I need?”
Don’t worry, it’s easier than you think. Let’s walk through the basics to get your company podcast up and running.
Why Start a Company Podcast?
Before diving into the gear, let's briefly talk about why a podcast could be a game changer for your brand.
A company podcast allows you to tell your brand’s story, offer insights, and engage with your audience in a format that feels personal and direct. Whether you're sharing expert advice, interviewing industry leaders, or providing updates on your latest innovations, a podcast can make your company’s message easy to consume. Plus, it’s a fantastic way to stand out in a crowded market.
When I launched my own podcast, I didn’t anticipate just how powerful it would be. The conversations I had with experts expanded our reach and brought new opportunities to the table. A well-produced podcast offers your audience something valuable while boosting brand awareness, win-win!
Essential Podcast Equipment
Starting a company podcast doesn't mean spending thousands on professional gear right off the bat. But, you do need the right tools to sound professional. Here’s a breakdown of the essential equipment you need to get started:
1. Microphone: The Heart of Your Podcast
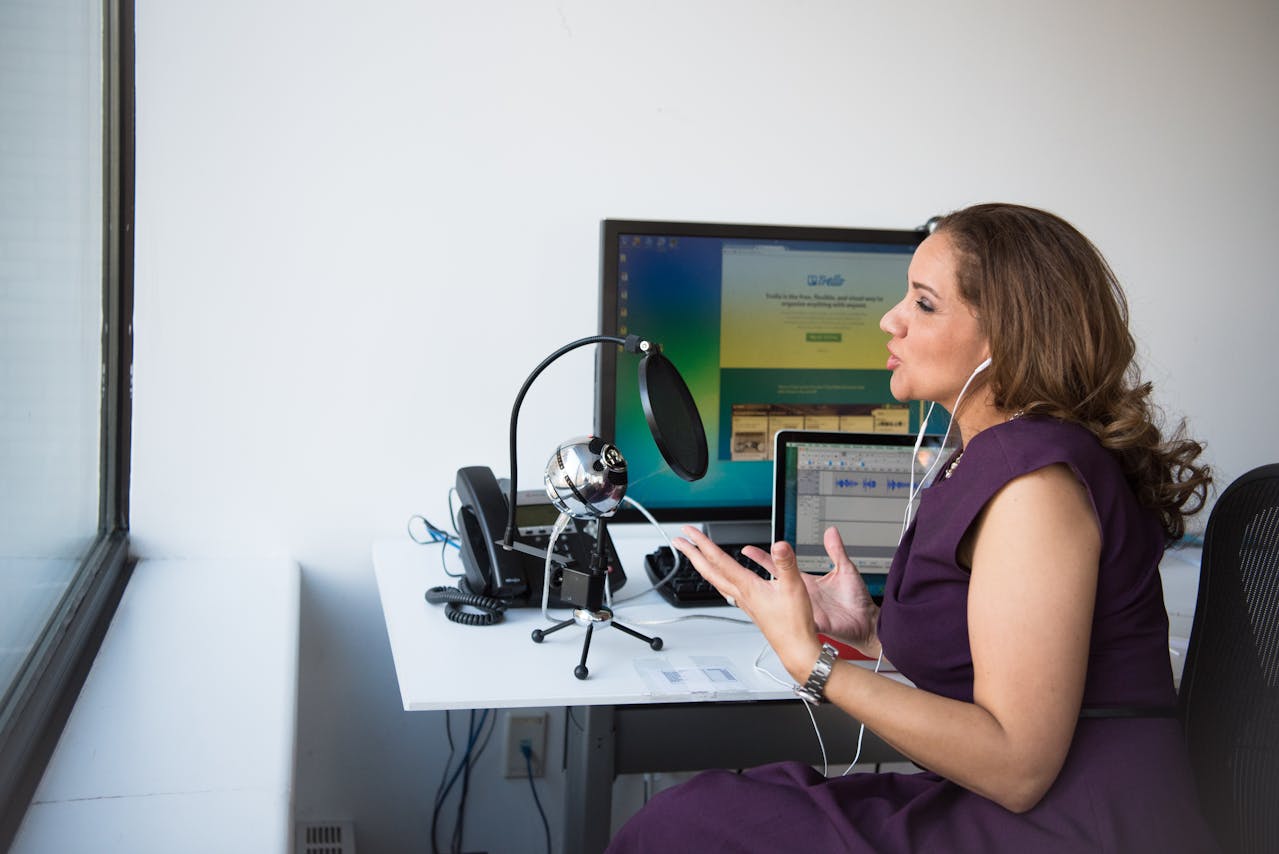
For my first 10 episodes on our podcast, our audio was shockingly bad, with just using the laptop's built-in mic, we soon fixed that and a high-quality microphone was the answer. Listeners can forgive a less-than-perfect voice (my north east accent playing a role ), but they won’t forgive bad audio quality.
-
USB Microphones: These are plug-and-play, simple, and affordable. They work directly with your computer. Popular models include the Blue Yeti or Audio-Technica ATR2100x. (The latter is the one we ended up with)
-
XLR Microphones: If you’re looking to level up, XLR mics (like the Shure SM7B) offer even better sound quality but require additional equipment like an audio interface.
2. Headphones: Monitor Your Sound
You’ll want a solid pair of headphones to monitor your audio while recording. This helps you catch issues like background noise or poor mic placement before they ruin your recording. When you did adventurous podcasts like what we did in wood's, and by the shores of the North East, understanding your environment's sounds is crucial as it can make great ambiance or overwhelming noise)
Closed-back headphones like the Audio-Technica ATH-M50x are excellent because they block outside noise and let you focus on the audio.
3. Pop Filter: Smooth Out Your Voice
We used this a lot to help filter out the breathing through our mics, A pop filter is a simple yet essential tool. It minimizes those harsh “P” and “B” sounds that can distort your audio.
4. Audio Interface (If Using XLR Mics)
If you opt for an XLR microphone, you’ll need an audio interface like the Focusrite Scarlett 2i2. This piece of equipment converts the analog signal from the mic into a digital signal your computer can process.
5. Recording Software: Capture Your Voice
We edited a lot of our content, GarageBand was our chosen option, so you’ll need software to record and edit your podcast. Luckily, there are plenty of free options to get you started:
- Audacity (free and open-source) is perfect for beginners.
- For more advanced options, consider Adobe Audition or GarageBand (free for Mac users).
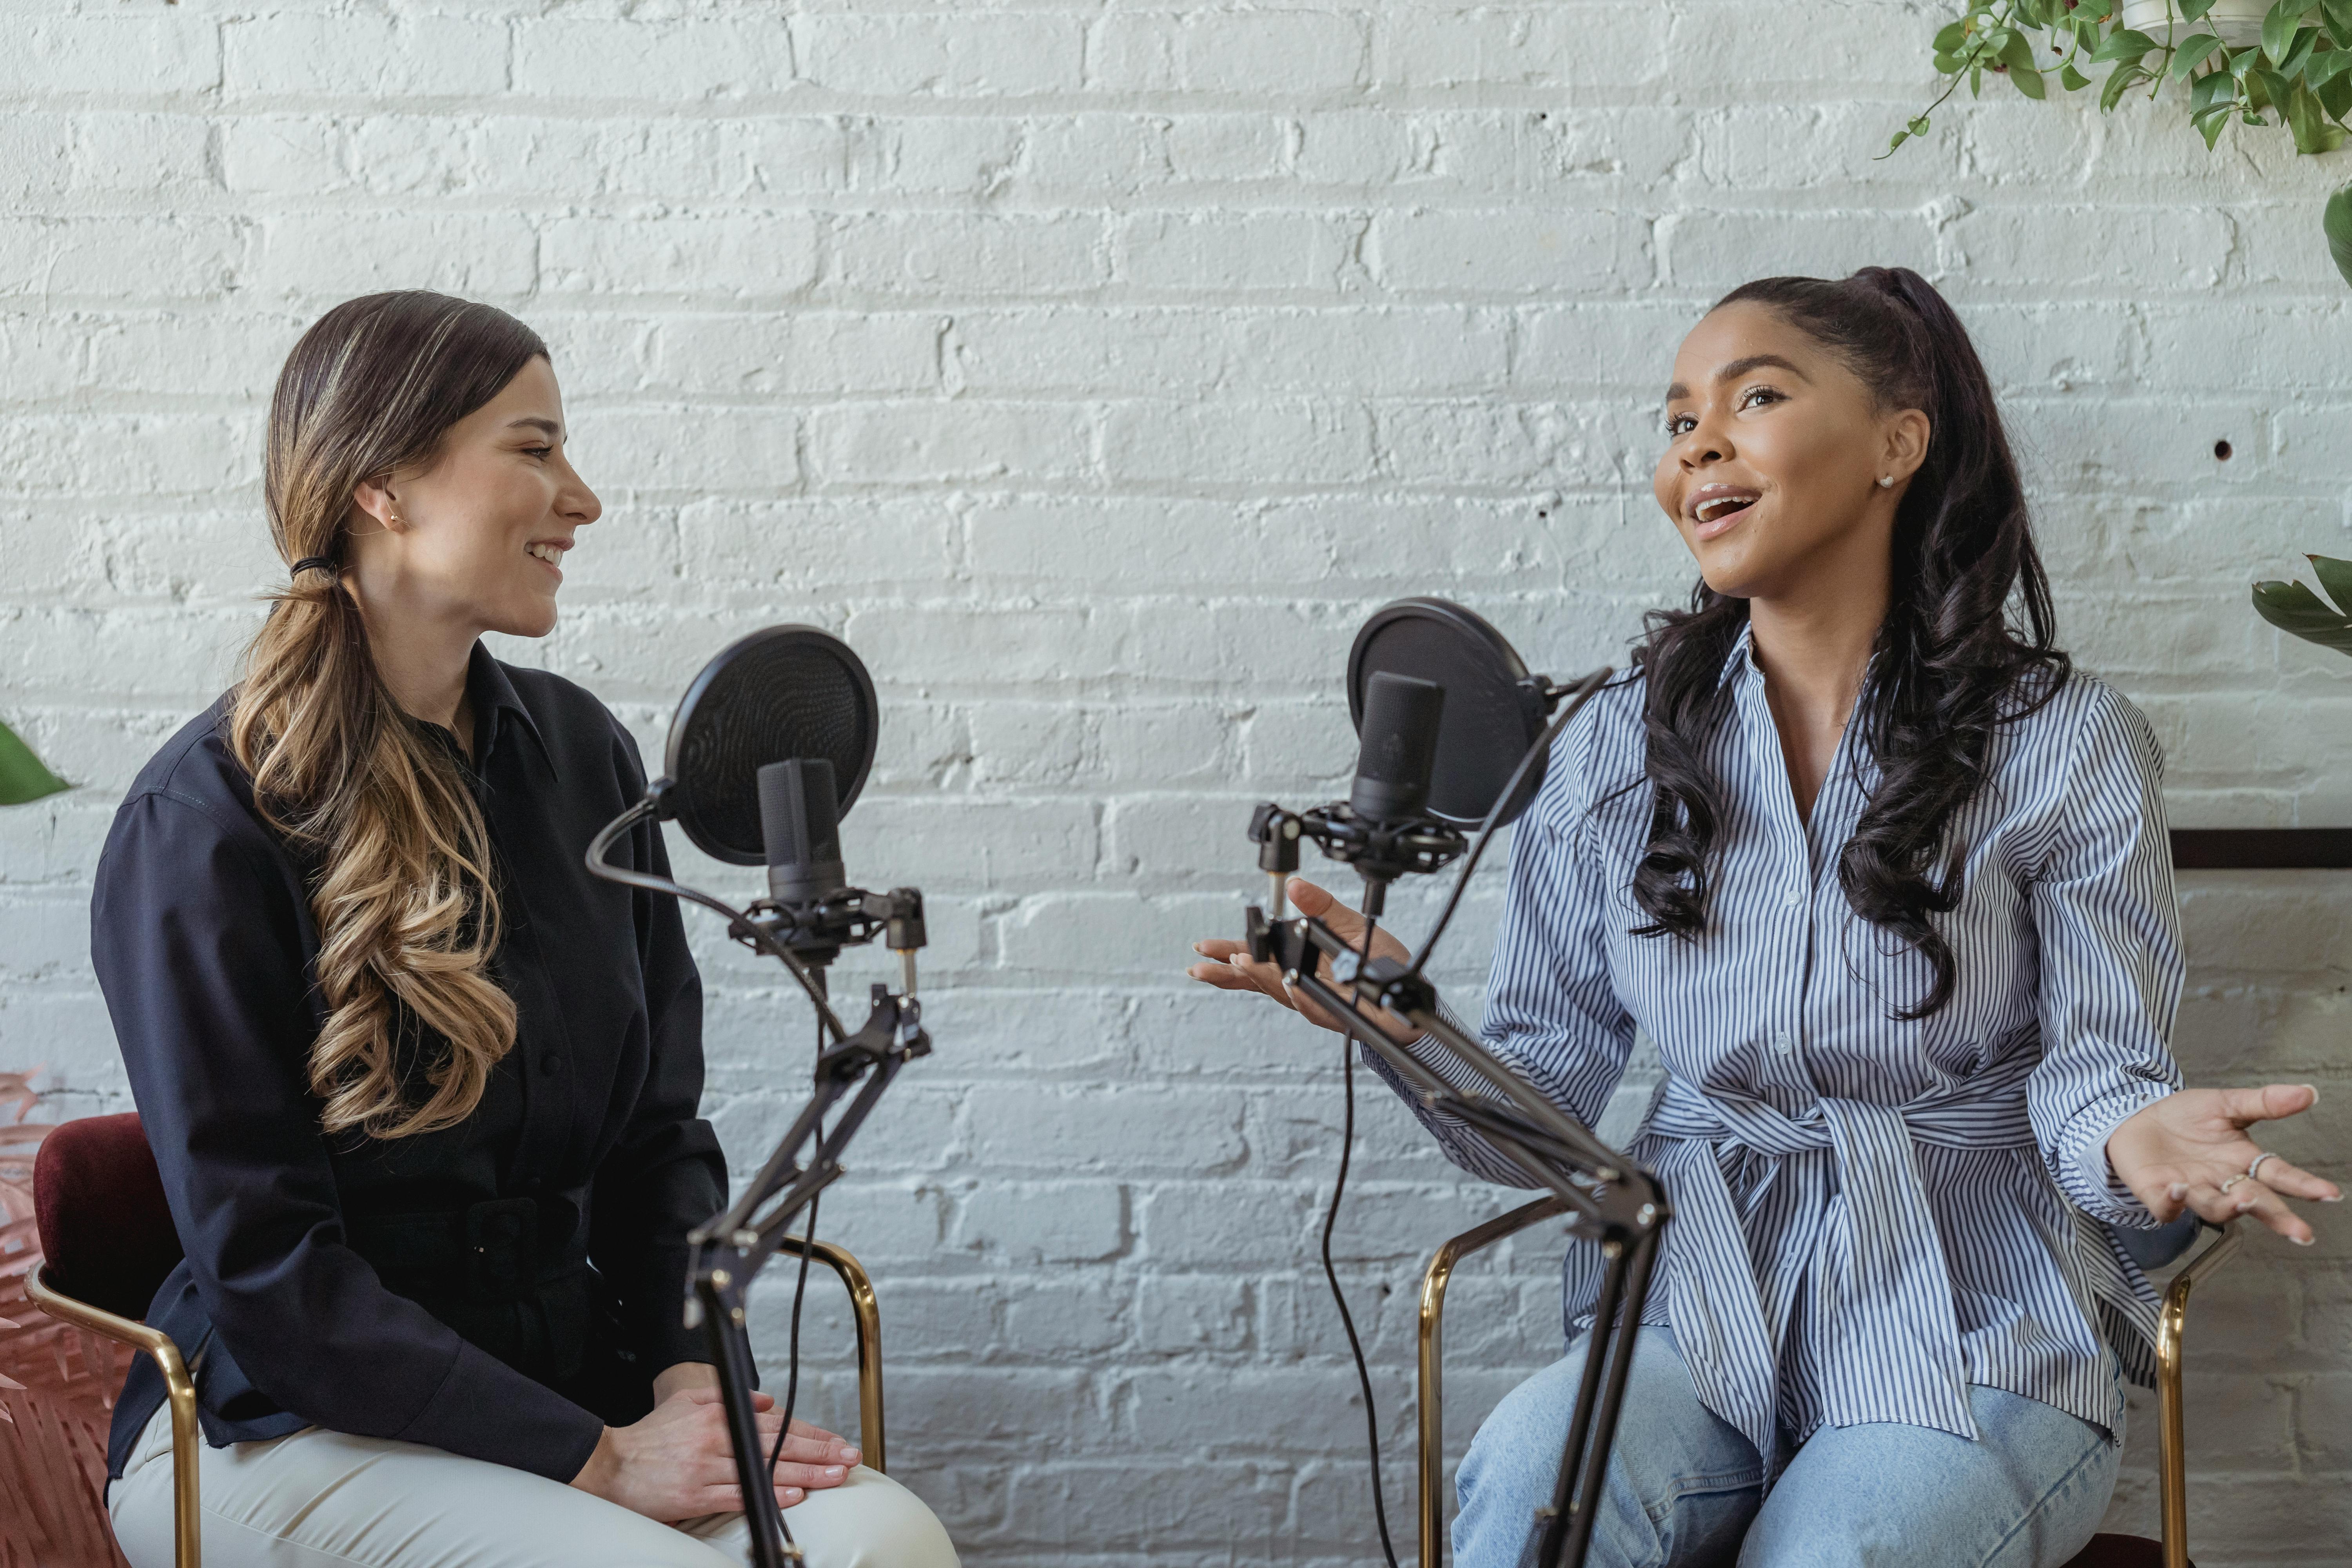
6. Boom Arm or Mic Stand: Keep Your Hands Free
We converted a shed into a home made studio, this little tool is a game changer for your comfort. A boom arm or mic stand is a small investment that goes a long way. It helps you position the mic properly and keeps it out of your way while recording.
7. Optional Extras: Make It Polished
If you’re recording in a noisy space like we did, consider acoustic foam panels to dampen unwanted sound. And, if you plan on doing interviews remotely (we traveled to guest's houses which weren't studio level), invest in call recording software like Zencastr or Riverside.fm for professional-quality remote recordings.
Conclusion: Let Your Company’s Voice Be Heard
Hopefully, that's the guide you need to get started with your equipment stack. Starting a company podcast might seem daunting, but it’s one of the easiest and most impactful ways to express your brand’s message. With the right equipment, you’ll be well on your way to creating a podcast that resonates with your audience and leaves a lasting impression. When I started my podcast, the thrill of sharing our message in a new format was truly eye-opening.
So, get the equipment, find your voice, and start sharing your company’s story with the world. You might be surprised at the new opportunities that follow.
Share this
You May Also Like
These Related Stories

Ultimate Guide to Starting a Podcast from Scratch Using Webinars

How to Write a Script for a Company Podcast: A Simple Guide


